How Can You Reduce Your Packaging Bags Cost For New Brand?
Struggling with high packaging costs and risks for your new product? This one-size-fits-all approach can drain your startup capital before you even make a sale. But there's a smarter way.
The best way to customize stand-up bags is with a two-stage strategy. Start with digital printing1 for small, test-market batches to avoid huge upfront costs. Once your sales are stable, switch to gravure printing2 to lower your per-unit price and maximize profit on larger orders.

Many brand managers I talk to feel trapped. They believe achieving a professional look means committing to massive order quantities right from the start. They see a low price-per-bag from traditional printers and jump at it, not realizing they're about to be hit with thousands of dollars in non-refundable plate fees. This is a huge gamble for a product that hasn't proven itself in the market yet. We've seen this costly mistake too many times. That's why we developed a strategic roadmap to help brands like yours launch smart and scale safely. Let's break down how this process works, from manufacturing to sealing your finished product.
How Are Stand Up Pouches Made?
Wondering how a simple film becomes a professional pouch? The manufacturing process seems complex, which can feel intimidating for a new brand. But it is a straightforward process we guide you through.
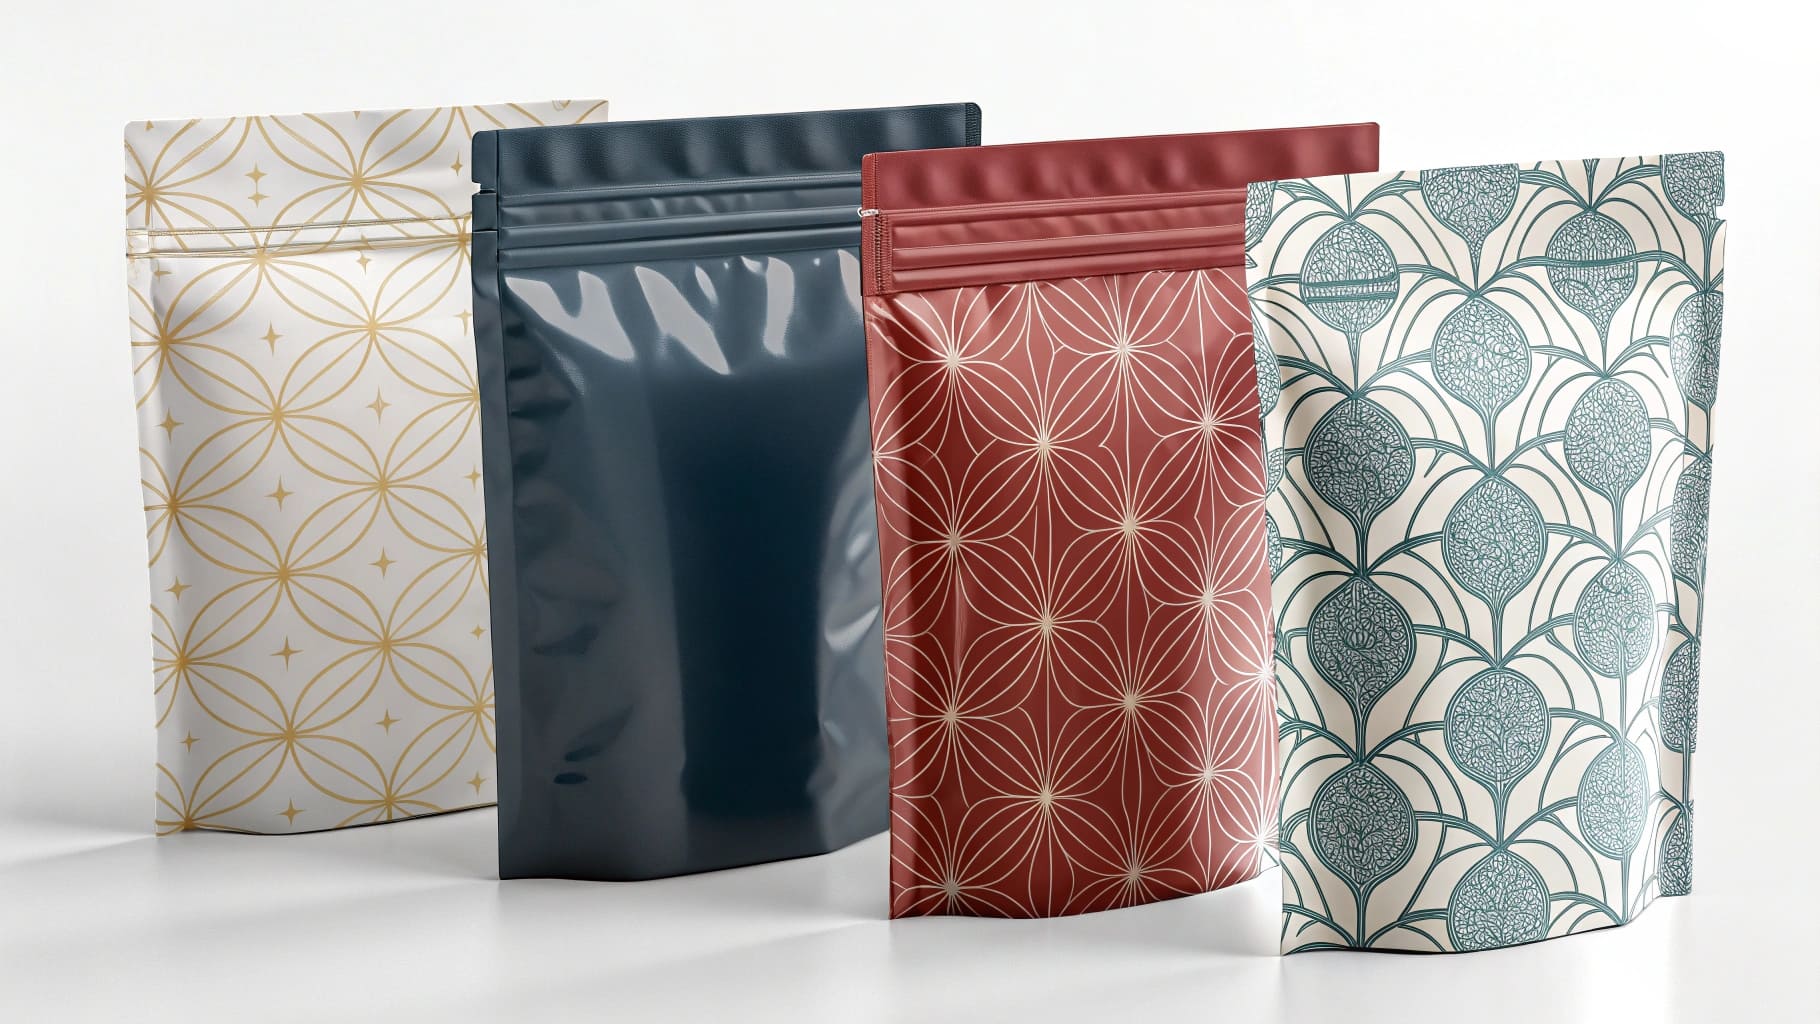
Stand-up pouches are made by laminating multiple layers of material together for protection. Then, your design is printed onto the surface, and the material is cut, folded, and sealed into its final pouch shape, complete with the bottom gusset that lets it stand up perfectly on shelves.

The journey from a digital design file to a physical pouch involves a few key stages. At Sorbar, we handle this entire process, but understanding it helps you make better decisions for your brand.
Stage 1: Printing Your Design
This is where your brand comes to life. We offer two main methods:
- Digital Printing: Perfect for new launches. We print your design directly onto the film, much like a high-end office printer. The main advantage is there are no plate fees and no minimum order quantity. This lets you test the market without a huge financial commitment.
- Gravure Printing: Ideal for scaling up. This method uses engraved metal cylinders (plates) to transfer ink to the film. While there's an upfront cost for the plates, the per-unit price is much lower on large runs.
Stage 2: Lamination
After printing, we bond multiple layers of material together. This isn't just for strength; each layer serves a purpose, like protecting your product from moisture, oxygen, and UV light to ensure freshness and extend shelf life3.
Stage 3: Pouch Conversion
Finally, the printed and laminated roll of film is put on a pouch-making machine. Here, it is cut, folded, and heat-sealed into its final form. This is also when we add features like zippers, tear notches, or hang holes.
How Do You Fill a Stand-Up Pouch?
You have your beautiful new pouches. Now, how do you get your product inside efficiently? Filling them by hand is slow and inconsistent, which slows down your entire operation.
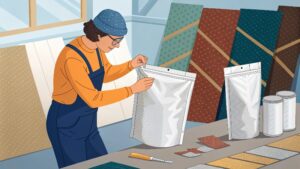
You can fill pouches manually with a simple scoop for small batches. For larger volumes, brands use semi-automatic or fully automatic filling machines4. These machines measure the exact product weight or volume and dispense it cleanly into each pouch, speeding up production significantly.

Choosing the right filling method depends entirely on your current production scale and budget. You don't need to invest in expensive machinery right away. Many of our clients start small and upgrade as their sales grow.
Filling Methods at a Glance
| Method | Best For | Speed | Cost |
|---|---|---|---|
| Manual Filling | Startups, farmer's markets | Slow | Very Low |
| Semi-Automatic | Growing businesses | Medium | Moderate |
| Fully Automatic | Established, high-volume brands | Fast | High |
For manual filling, all you need is a food-safe scoop and a funnel. This is perfect when you're just starting out and order fulfillment is manageable. As your brand grows, you might move to a semi-automatic filler. With these, an operator places the pouch under the spout, and the machine dispenses a pre-set amount of product. It's a great middle-ground that boosts efficiency without the cost of a fully automated line. Fully automatic systems handle everything from feeding the empty pouches to filling, sealing, and discharging them, which is essential for large-scale operations.
How Do You Seal a Standup Pouch?
Your pouches are filled, but how do you get that clean, secure, factory-grade seal? A weak seal can lead to spills, spoilage, and unhappy customers, damaging your brand's reputation.
Most stand-up pouches are sealed with a heat sealer5. This simple machine uses heat and pressure to bond the top opening of the pouch together, creating an airtight and tamper-evident seal. This works for pouches both with and without zippers, ensuring your product stays fresh and secure.

Securing your product is the final, critical step before it reaches your customer. A professional seal says your product is safe and of high quality. Luckily, achieving this is both easy and affordable. The tool for the job is a heat sealer. There are two main types you will encounter:
1. Impulse Sealers
These are the most common and affordable type, perfect for startups. You simply place the top of the pouch between the sealer's jaws, press down, and it applies a quick pulse of heat to create the seal. They are easy to use, don't require any warm-up time, and create a strong, reliable seal.
2. Direct Heat Sealers
Also known as constant heat sealers, these machines have jaws that are always hot. They are better suited for thicker materials or gusseted bags because they provide more consistent and penetrating heat. These are often used in higher-volume operations.
Whichever sealer you choose, the goal is the same: to create a complete, uninterrupted seal across the entire opening of the pouch. This protects the product inside and gives your customers confidence in their purchase.
What Material Is Used For Pouch Packaging?
Confused by all the material options like PET6, KPET6, and VMPET7? Choosing the wrong material can fail to protect your product, leading to spoilage and waste.
Pouch packaging uses multiple layers of barrier films laminated together. Common materials include PET for a glossy, printable surface, a middle layer like Aluminum (AL) or VMPET for maximum barrier protection against moisture and oxygen, and a food-safe inner layer like LLDPE8 for sealing.

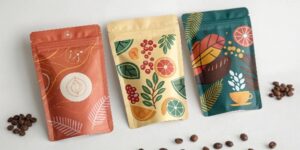
The materials we use are not just plastic; they are an engineered solution designed to protect your product. The specific combination of layers depends entirely on what you are packaging. A coffee company needs a high oxygen barrier to keep beans fresh, while a candy company might prioritize a material that shows off the product's vibrant colors.
Here’s a breakdown of some common materials and their jobs:
- PET (Polyethylene Terephthalate): This is often the outer layer. It offers high strength and clarity, and its surface is excellent for printing high-quality graphics.
- AL (Aluminum Foil): When you need the best protection, you use a layer of aluminum foil9. It provides a nearly perfect barrier against light, moisture, and oxygen. This is vital for sensitive products like coffee or nutritional supplements.
- VMPET (Metallized PET): This is a PET film coated with a micro-thin layer of aluminum. It provides a very good barrier and a premium metallic look but is more flexible and less expensive than pure aluminum foil.
- LLDPE8 (Linear Low-Density Polyethylene): This is almost always the inner-most layer. It is food-safe, flexible, and has a low sealing temperature, making it the ideal material for creating a strong, peelable heat seal.
We guide you in selecting the right material structure to ensure your product has optimal shelf life and your packaging performs perfectly.
Conclusion
By starting with digital printing and scaling to gravure, you can test your product, avoid risk, and grow your brand sustainably. This simple, two-stage strategy makes custom packaging10 accessible for everyone.
Learn about the advantages of digital printing for small batch packaging and cost savings. ↩
Discover when gravure printing is the best choice for large-scale production. ↩
Explore how the right packaging materials can extend the shelf life of products. ↩
Learn about different filling machines and their suitability for various production scales. ↩
Discover the importance of heat sealers in ensuring product freshness and safety. ↩
Understand the role of PET in providing strength and clarity in packaging. ↩
Learn about the benefits of VMPET in providing a premium look and barrier. ↩
Find out why LLDPE is the preferred material for creating strong seals. ↩
Discover how aluminum foil acts as a barrier against light and moisture. ↩
Discover how custom packaging can differentiate your brand in the market. ↩
Written by

You may also be interested in:
How to custom mylar bags from China?
Struggling with the complexities of custom packaging1? A wrong choice can hurt your product's launch and quality. Let me guide you through creating the perfect Mylar bags from China. To
How can a startup save costs when ordering custom packaging bags?
Struggling with high packaging costs that strain your budget? These expenses can limit your ability to test new products and grow your brand, making you feel stuck. The best way
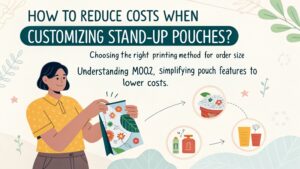
Smart Savings: How to Reduce Costs When Customizing Stand-Up Pouches
Stand-up pouches (SUPs) have revolutionized product packaging thanks to their convenience, shelf appeal, and reduced material usage compared to rigid containers. They offer a fantastic canvas for branding and functionality.